
power bi
How to make Power Query load CSV files faster
Speed up CSV imports in Power Query by turning off automatic type detection and defining column types at the end.
Read6 min read
Most Power BI users start the same way. You open a PBIX file, you build a model, add some visuals, publish to the service, and move on.
It works fine when you are alone. The moment you work with a second person, or you run multiple reports, or you need Dev and Prod, things fall apart fast.
You get broken models, overwritten changes, weird file names like “final_final_v3.pbix”, and no clue what version is live.
Version control solves this. This guide explains how to set it up for Power BI, how to structure your files, how to handle multiple reports, and how to work with AI agents in a safe way.
Power BI was originally built for analysts, not for full development teams.
But most companies now treat Power BI as a real product. You have:
multiple developers
several reports
one or more semantic models
shared themes and scripts
fixes, features and hotfixes
Dev, Test and Prod environments
Without version control you lose track of who changed what.
PBIX files are binary, so you cannot compare changes.
And if two people open the same PBIX, one person always overwrites the other.
Version control brings order. It gives you:
history of every change
the ability to work together without conflict
clean deployment paths
clear structure when you have many reports
a safe foundation for using AI agents
PBIX files do not work well in Git. They are big binary files and Git cannot show what changed inside.
Microsoft solved this by introducing the Power BI Project format (.pbip).
A PBIP breaks your report and model into normal files and folders. This means Git can track every measure, table, visual and layout.
A PBIP project contains:
a folder for the semantic model (TMDL files)
a folder for the report (PBIR files)
a PBIP file that points to the project
a built in gitignore file to hide cache files
You can still export a PBIX if you need it, but the PBIP is now your actual source.
Do not store all PBIP files at the same level.
Do not create one repo per PBIP either.
Both lead to chaos when you grow.
The easiest structure is this:
repo-root/
  powerbi/
    sales-executive/
      SalesExecutive.pbip
      README.md
    sales-operations/
      SalesOperations.pbip
      README.md
    finance-board/
      FinanceBoard.pbip
      README.md

  shared/
    themes/
    dax-snippets/

  docs/
    architecture.md
    naming-conventions.md

  .gitignore
This gives you:
one folder per Power BI project
one PBIP per folder
a shared area for themes and scripts
a simple docs folder for anything important
This layout scales when you add more reports or more developers.
Example: powerbi/sales-executive/
Contains:
the PBIP file
the report folder
the semantic model folder
a small README with important notes
This folder is the only place where changes for that report should happen.
Hold items like:
themes
shared helper DAX formulas
PBIX exports if you need them
deployment instructions
Keep simple documentation here:
naming rules
RLS rules
semantic model overview
data sources
change history
Documentation inside the repo is better than scattered files in Teams or SharePoint.
Once your repo is set up, people work with feature branches.
A normal flow looks like this:
A request arrives:
“Add a churn page to the Sales Executive report.”
You create a branch:feature/sales-executive-churn-page
You open the PBIP in that branch and do the work.
You commit small, clean changes:
one commit for model changes
one commit for report layout
one commit for RLS or navigation updates
You push the branch and open a Pull Request.
Someone reviews the changes, both in Git diff and in a Dev workspace.
The branch is merged back into dev or main.
This keeps work clean and predictable.
You can deploy in three ways.
You can mix these depending on how advanced your setup is.
Simple, fine for early stage.
Risky because people can skip Git.
This is the easiest real CI/CD for Power BI.
Dev workspace is linked to dev branch
Prod workspace is linked to main branch
When you merge dev into main, Prod updates automatically
No scripts needed
This is good for most teams.
Use Azure DevOps or GitHub Actions to call the Power BI APIs.
This is useful if you want approvals, tests or complex multi environment setups.
Most companies start with option 2 because it is simple and stable.
Here are small things that make a huge difference.
Auto Date/Time and Auto Relationship Detection create noisy changes.
Turn them off for the whole team.
Ignore PBIX files.
Keep a single PBIX export in a “dist” or “export” folder only if needed.
It makes reviews much easier.
A semantic model is a contract.
Avoid renaming or deleting fields without planning.
Explain the purpose, data sources, RLS rules and notes for reviewers.
Always pull edits back into PBIP and commit them.
Check that the model refreshes, visuals work and RLS is correct before merging.
How to work with AI agents in a repo with many PBIP projects
This is important.
An AI agent can accidentally change the wrong PBIP.
You want to avoid this at all costs.
Here is the safe way.
Each PBIP lives in its own folder with a clear name.
Example: powerbi/sales-executive/
Every task should include:
the folder path
the PBIP file name
the rule: “Do not touch any file outside this folder”
Example:
Target project: powerbi/sales-executive/
PBIP file: SalesExecutive.pbip
Task: Add a churn page.
Do not modify any other PBIP or shared files.At the end of the task, ask:
List all files you changed.
If you touched anything outside the target folder, report it.
This gives you a final check.
You can add simple checks in CI:
fail the pipeline if the PR touches another PBIP
use CODEOWNERS to require approval from the right owner
limit write access to the target folder if you use an agent framework
If you need a change across all reports (for example a new theme), run that as a dedicated task.
Never mix this with a normal feature request.
To make it concrete, here is a normal development cycle.
“Add Margin % measure and a new card visual to the Sales Executive report.”
Create a branch:feature/sales-executive-margin-kpi
Open the PBIP in:
powerbi/sales-executive/SalesExecutive.pbip
Make your changes.
Commit:
“Add Margin % measure in model”
“Add card visual on Executive Overview page”
Push and open a PR:
Describe the change in simple words
Add screenshots
Link to the feature request
Review:
Check diff in Git
Test in Dev workspace
Approve
Merge to dev
If Fabric Git integration is active, workspace updates automatically.
After testing, merge dev into main
Prod workspace updates.
That is it. No more chaos.
Power BI development becomes a lot more stable when you treat it like software development:
PBIP gives you structure. Git gives you safety.
Fabric Git integration gives you painless deployments.
A clear folder layout keeps multi report setups clean.
Good prompts and guardrails keep AI agents predictable.
Once you set this up, your team can move faster with fewer mistakes, less rework and clear visibility of every change.
More pieces from the field on the same topic.
Speed up CSV imports in Power Query by turning off automatic type detection and defining column types at the end.
Read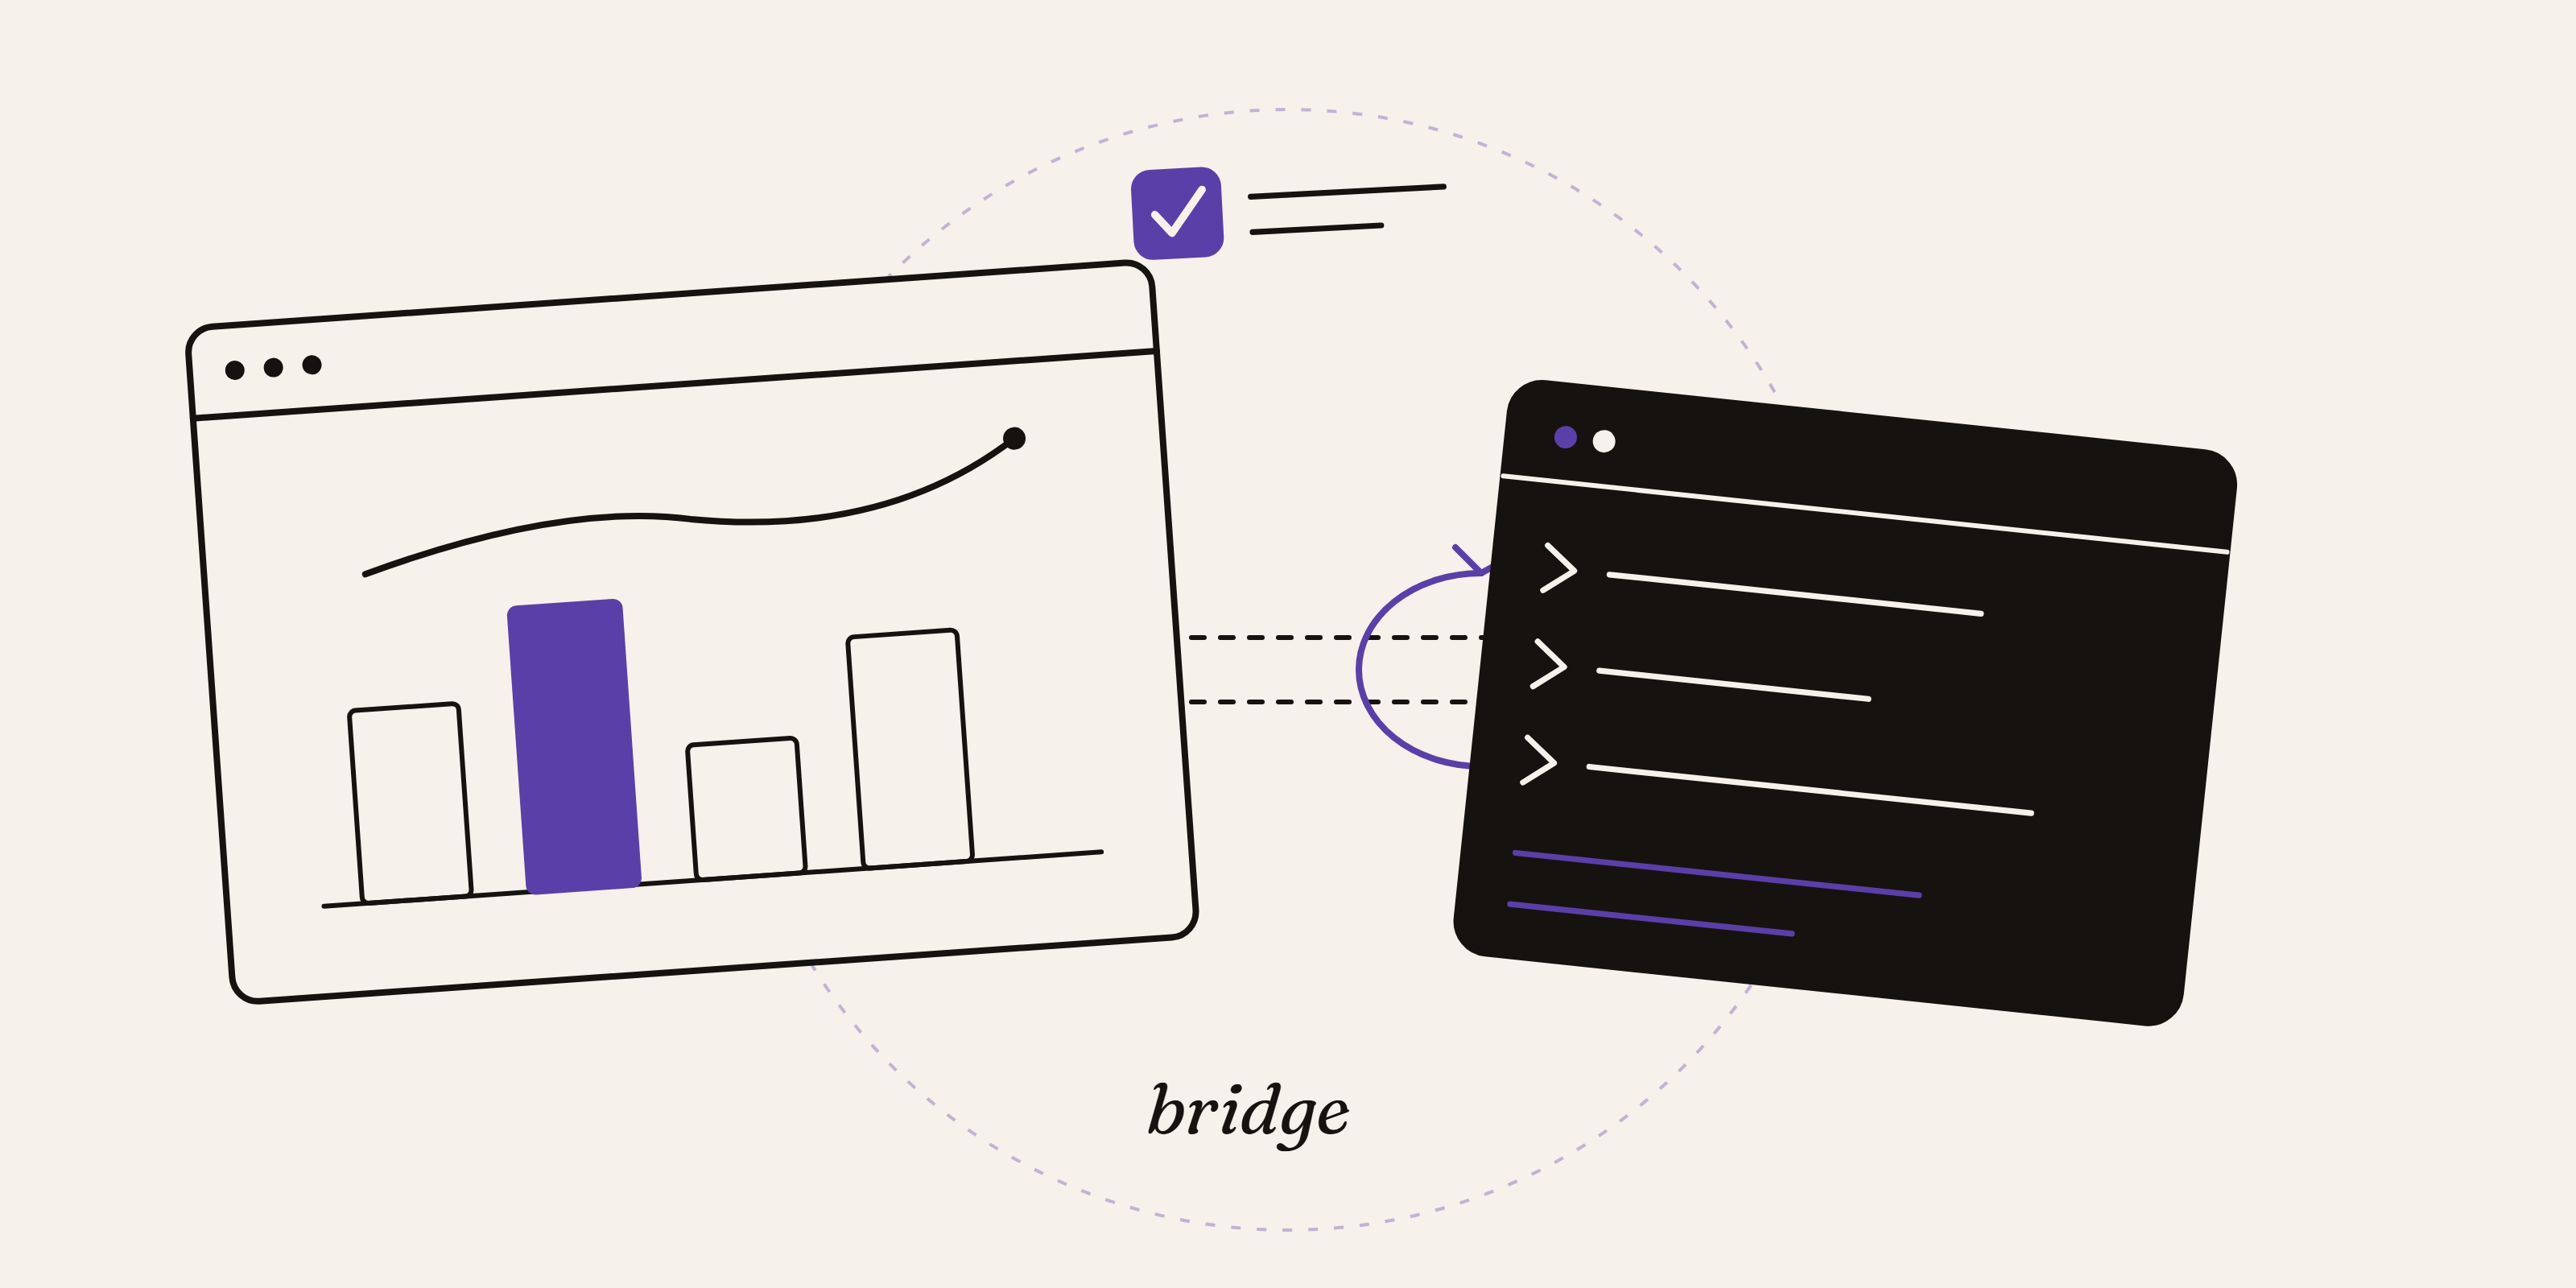
The June 2026 Power BI Desktop Bridge lets an agent build and verify reports. Here is how to enable it and install the t...
Read
Learn the importance of change management for a successful Power BI rollout and ensure organizational transformation thr...
ReadA no-strings advisory call. We'll tell you honestly what's realistic, or point you elsewhere.
Book a discovery call